February 27, 2011

365: Day 36 & 37 I Wanna Be a Cowboy

That's what the fabric was telling me: "I wanna be a cowboy." Actually that it what I told the fabric it was gonna be or else partner! Today I finished the John Wayne Pillow that I made for my Dad. The pillow did not turn out as expected--it was much better.

Here was the original plan:
The pillow was going to be 15" square. I watched the video on how to make a 3D Faux Cathedral Window square (the diamond in the middle) on YouTube by Kris Driessen of Quiltbug.com. I took copious notes, well maybe somewhat cryptic.

What follows is the basic description of how I put together the pillow. If you just want to see the pillow, then scroll to the bottom of the page. I don't mind.

The basic method is a four square pattern with the accent piece (in my pillow its the blue fabric with gold stars) cleverly sewn in to mimic lead cames. The four squares and the picture that goes into the middle are all the same size. According to Kris, the accent piece or came equals (one square X 2 - seam allowance). In my case (6 3/4"*2) -.5" or 13" square.

As you can see from the schematic, John Wayne's head would be at the top point. I have no idea why this simple fact escaped me, but I kept thinking that the points made by the accent would be on either side of his head. I didn't figure out my happy accident until I was ready to sew in the celebrity, despite my daughter's attempt to clue me in.

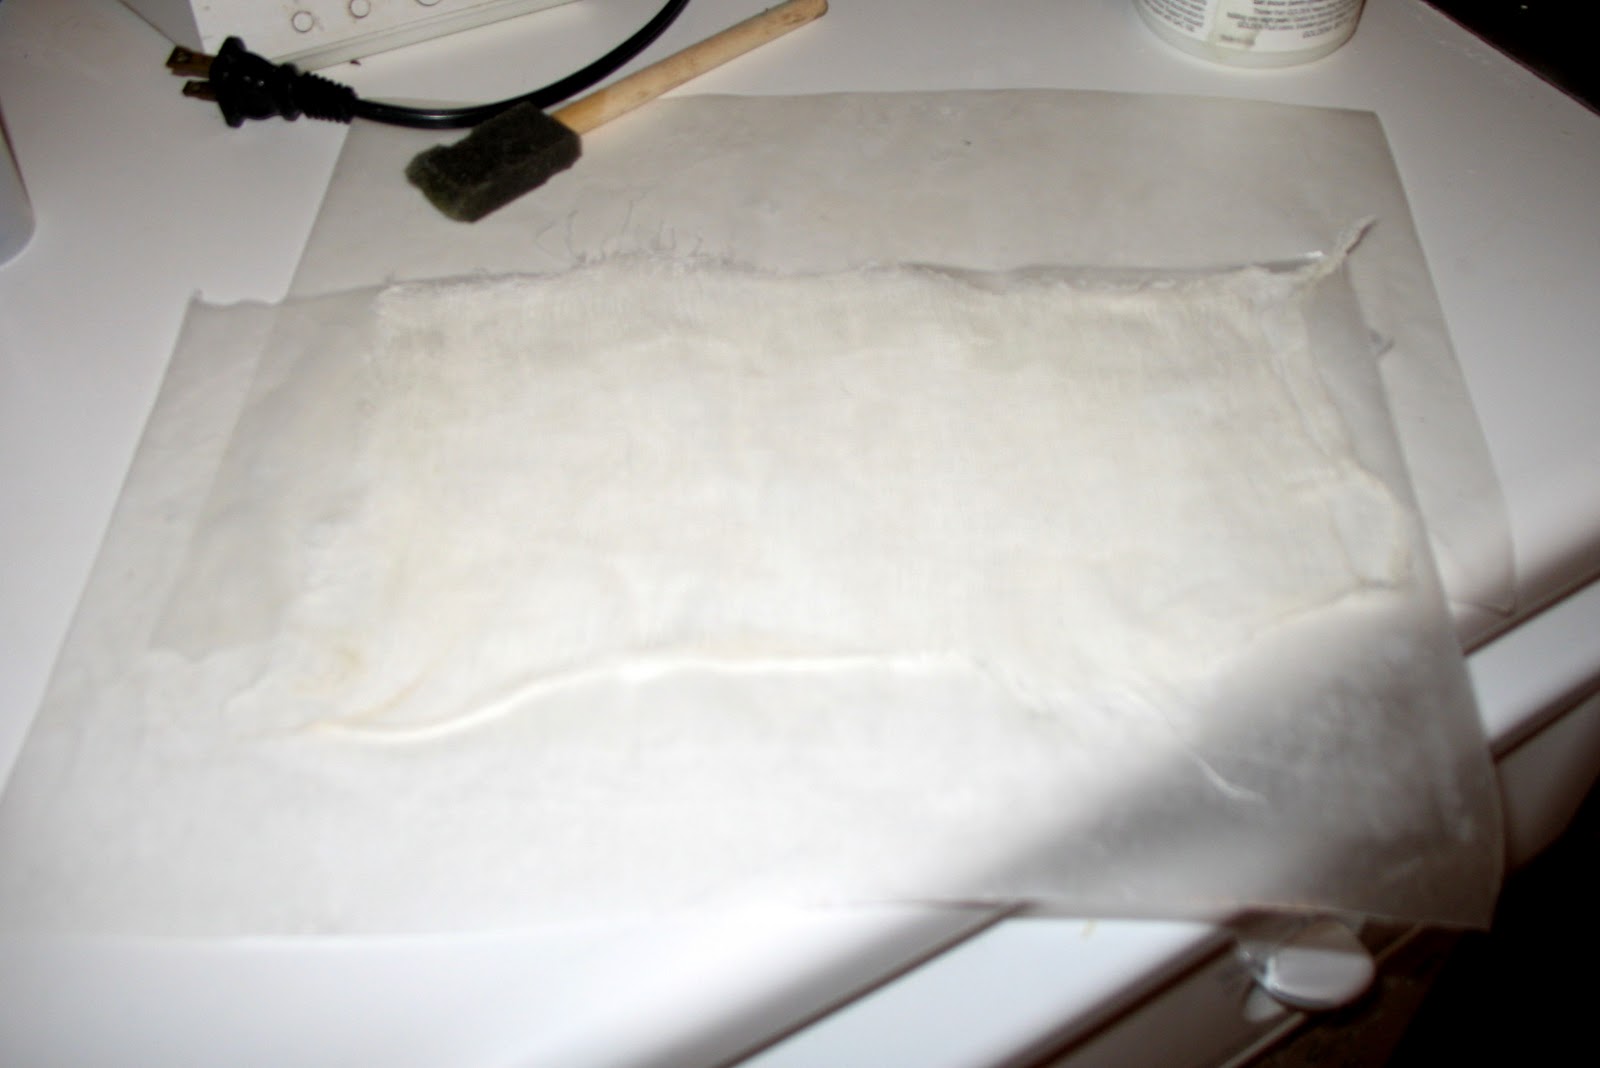
First I found a photo that I wanted to work with and printed it out on Avery T-Shirt transfer paper. It was what I could find and it turned out nice.

Next step was to cut out the main fabric pieces. I wanted a western look to the pillow so I chose browns and blues. The first photo shows how to put together the four squares (brown) and the accent fabric(blue) for sewing all at the same time. If you click on the image you will see more notes. Sure wish I had this before starting. I had sewn everything together backwards--twice. Doh! Time for the frog stitch. The pics show the correct placement of fabric.
This is what it should look like when sewn correctly and the square opened up.
Happy me until...
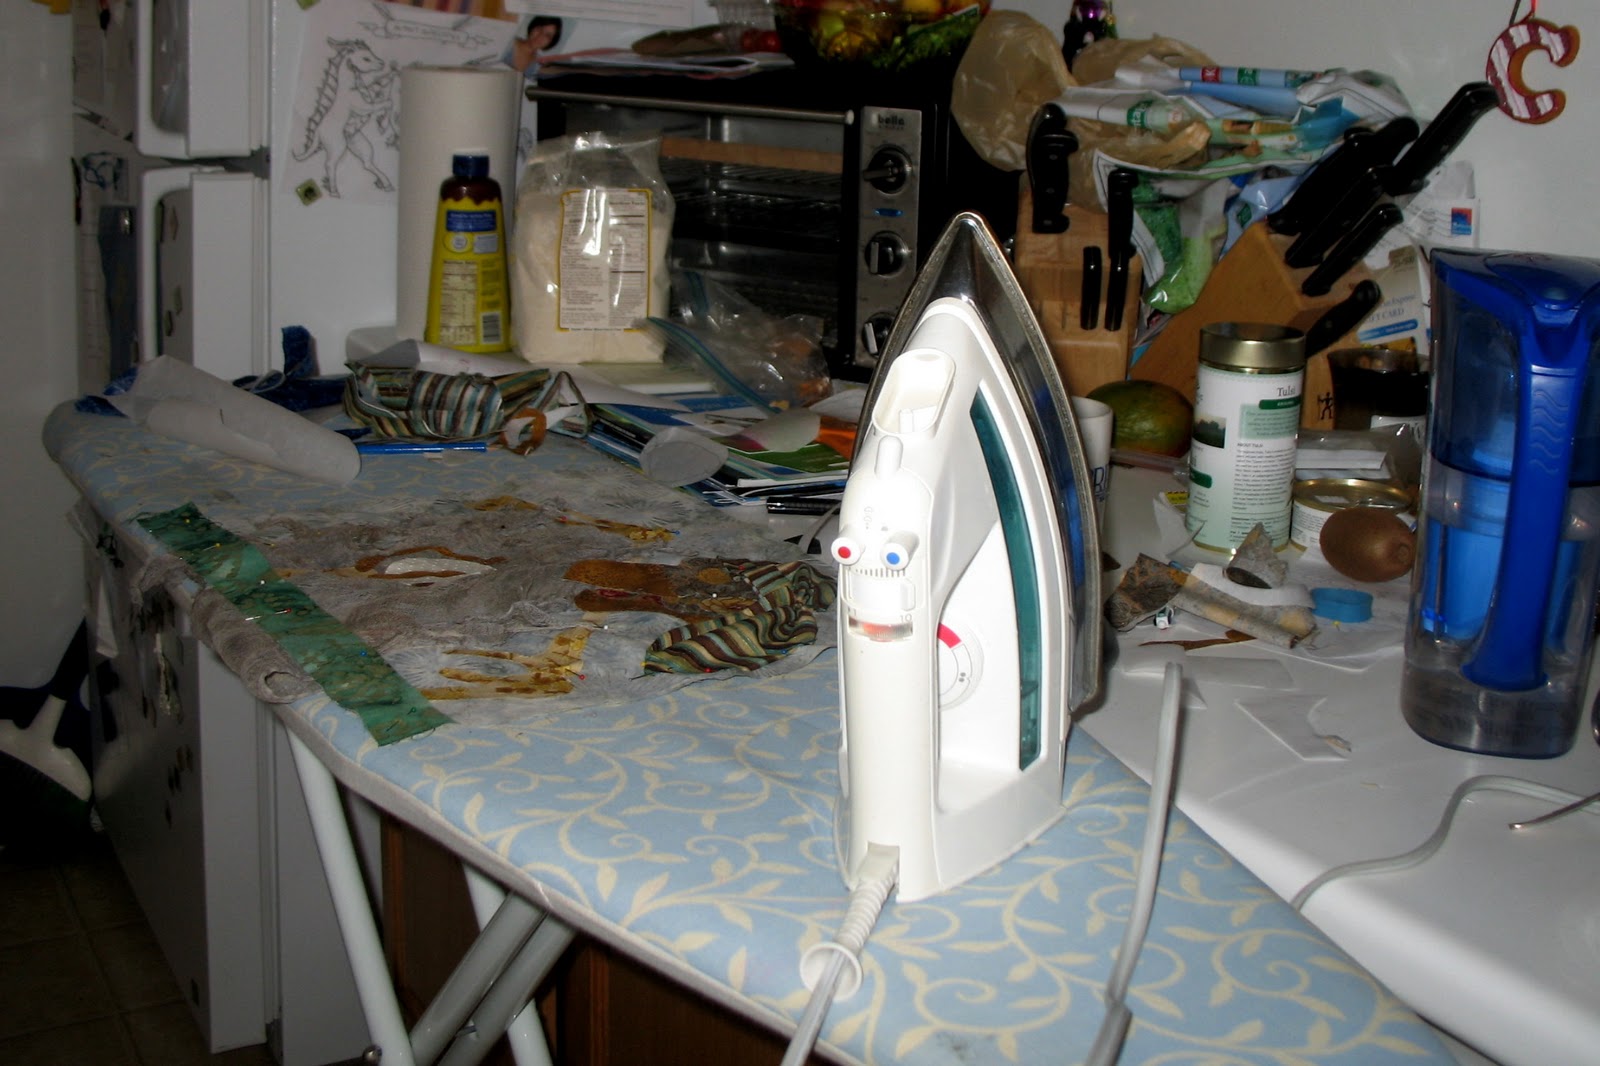
Now the four squares need to be aligned so that the open edge (not the fold edge) can be sewn. The video does a great job of showing that part, so please review it. Thank you Kris!! Realizing that I had done this part incorrectly, twice, I stopped taking pics and started concentrating more on what I was doing.

Once the four squares and the accent fabric are sewn together and the accent fabric opened up (it will look like a puffy diamond in the center), the next step is to insert Johnny and pin him down! There is a square of batting underneath the pic. Looks good eh? I also realized that I need to change my design if John was going to be seated correctly in the saddle, I mean square.

As you can see from the finished pillow I had to change the diamond shape in order to make the pillow square. Because I didn't have enough of the golden rose fabric for the triangles, I added black strips along the diamond shape and then cut an inch off each point of the diamond. I placed paper under the diamond in order to make a pattern for the added triangles. This allowed me to make sure of the measurements before cutting the precious little bit of fabric I had. Batting was added to make the pillow top puffy.
The pillow back is an envelope style with the black and gold flower fabric as a border for one edge.

My Dad said "Wow!
Mom said "Oh boy." It looks great on his couch and he loves it. Happy Birthday Dad!!


BTW: Do you recognize the fabric? It's the same stuff I am using for the Dead Parrot Pirate. My goal this week is  to finish that art quilt.

February 25, 2011

365: Day 35 Back on track

I haven't created a thing all week. I did try though. My little kitty had her surgery on Monday-spayed. That put a big damper on my creativity. She is doing wonderfully and recovering quite nicely. It's really hard to keep a kitten from jumping around and pouncing on the big cat even when they have had surgery. For four days she had to wear a blue inflatable e-collar. She looked like a Titanic survivor. I was really tempted to inscribe Titanic on the collar and take her pic. Although she looks miserable in the photo, she really didn't fuss too much.

Wednesday night I tried to make an anagram of my name. Just too many consonants and not enough vowels to play with. If I came up with that the next step would have been to illustrate it. Last night I dreamed the answer, but promptly forgot it by morning.

So today I finally started the planning and design for my Dad's b-day gift. I had been thinking about this all week. He is a big John Wayne fan and right now I am into fabrics and quilting and found a way to combine both interests. Last week I saw a tutorial for cathedral window squares. After googling for more info I found a great tut for an easier construction method on YouTube. After reviewing the video about 5 times I wrote up the instructions.

The plan is to make a 15" square pillow with one large cathedral square (12.5") in the middle with a pic of John Wayne (6.75" sq) in the center of that. 2" brown strips will outline the the large square. Perhaps a few embroidered stars in a navy blue or gold color will add some spice to it. I will post some pics tomorrow of the plan along with my fabric choices and the helpful links. Maybe that anagram will revisit me tonight.

February 20, 2011

365: Day 34 Bound in Stitches

Last night I went out with a good friend and we saw a great movie and shared a good meal. I got home early and found I had time for a creative project. What's something I could do while sitting on the couch AND not make a big mess? Make a book.  

A teeny book. A teeny yet useful book with some really cool embroidery stitches. Friday my daughter and I went to the library whereI found the Reader's Digest Complete Guide to Embroidery Stitches. (How funny, I just realized it was an RD book. I get no points for being observant.) I wanted to try out some different embroidery stitches on the Dead Parrot Pirate Art Quilt, but nothing in the book screamed pirate. However, I had been thinking about making a fabric book or doll featuring some of the stitches. 

It occurred to me that I could just sew these stitches on heavy card stock paper. Being part ferret I have a craft closet full of crafty stuff and set to work. I decided not to worry about the colors of the paper or embroidery floss. My mission was to create a resource.

Luckily I had a bag of pre-cut card stock that was just the right size. I made 8 pages total by folding rectangular pieces in half to make pages. Each page contains 2-3 stitches along with minimal instructions: very cryptic instructions.

First I embroidered the pages and then wrote the instructions as I went along. Sometimes I left the floss hanging and a pattern of holes I could follow if the instructions I wrote were too sparse. Other times I just drew a picture of the sewing needle and embroidery path next to the stitch it creates. Here are a few of the pages:


After the pages were sewn together, I added the cover and yarns to keep it tied and tidy. A little bit of scrapbook paper glued on the right side of the cover completes the book.

I have to thank my good friend Kathy Hart. She is amazing and also taught me how to make books. If you are interested, she teaches book making, jewelry making and lots of other great crafts. Check out her website: Kathy Hart Designs.

February 18, 2011

365: Day 33 Dirtier Rags

I was thinking, that Parrot's rags are just not dirty and ratty enough. There really needs to be more contrast between the background, rags and the sparkly black thread. So yesterday I was brave and took out my brown and black ink pads and improved the appearance of the rags. I mostly outlined the holes and edges of the fabric with ink. Once I am done with all the quilting I will permanently tack down the edges of his fine garment.

Today it was time to tackle the pearl. I still couldn't decide on whether to create a pearl from embroidered threads, machine stitching, painting or some combo of those ideas. Ah, the path of least resistance. I decided to test out the water color crayons on fabric. 


Here is a close up of the finished pearl:
Once the pearl is dry, I can finish up the stitching for the left eye socket and attach the batting layer.


For the backside I had talked about printing a pirate song onto fabric. This art quilt is wider than it is long so perhaps a journal page with the song on one side and notes on the other might look good. Or perhaps I could just do the ship's Articles and some pirate signatures. Eye Matey, that be soundin good to me ears. Arrr....

February 15, 2011

365: Day 32 Quest for a Pirate Song

I love Sulky black metallic thread!! Thread painting with this stuff was so much fun that I didn't want to stop. Luckily I have lots left over to play with for another day! Here is a close up of the metallic thread and how I used it underneath the cheesecloth to add a bit of sparkly mystery and drama to the quilt.

Check out my Dead Parrot Pirate now! He is so cool. This picture also shows the button eye I will be using as well as a metal button on the Pirate's skull cap. Can you see the black metallic thread beneath the cheesecloth? The picture doesn't show it as nicely as it looks, but it is there in 3 places surrounding the pearl/orb.


Here is an unobstructed view of the thread painting using the metallic thread. I pulled the cheesecloth back so you could see what I had done.
I decided to print a pirate's code, or song or map on the backside of the art quilt. The cream colored fabric below was too white, so I dyed it with tea bags and now it is ready to print the text on. I might add some inks or try burning the edges for a better effect. Please leave me a comment if you have any suggested pirate songs or codes I should use. 

Oh ya, the black fabric is for the back of the quilt as well as final border to the front. Oooh almost forgot. See that cord on the right side of the head? That was from my daughter's sailor bracelet that finally broke. It looks really good on the quilt...so that is going on there too.

365: Day 31 Rocking it Zentangle Style

Post for Monday, February 14th

Yep, another Zentangle. These seem to be my go to craft when I am out of time, tired or uninspired. Last night I was tired, but definitely inspired. I wanted bring my black clogs back from the dead by drawing Zentangles on them with white paint markers. Seemed like the perfect crafty idea. Well, I couldn't find the marker or I just didn't have one and if that be the case, the shoes weren't worth looking for anymore.

One of the 365 Days of Creativity prompts suggested working with what you find in your car. Too cold for that, but I used what was in front of me. A rock and a red permanent marker. (Yes I have rocks, sticks and leaves in my humble abode year round). Perfect, I didn't have to get back up. Maybe later this week I will get white paint pen for those shoes...maybe.

Front
Back

365: Day 30 Dead Pirate Comes to Life

Post for Sunday, February 13th (HAPPY BIRTHDAY DAD!!)


Watching the Pirate come to life is so much fun. This project has been so enjoyable. Today I spent several hours doing some hand embroidery.
Although I did spend sometime Googling embroidery stitches. I wanted to try something different, however the basic stitches seemed to fit the quilt best. I used the blanket stitch to outline the wing bones, eye and tongue and the outline stitch (stem stitch) for the claw. 
Close up of blanket stitch on wing bones
Embroidery around eye and tongue


Outline stitch for claws and blanket stitch on bone
Outlining the claw with light gold and dark gray makes the pearl (orb) seem like it is glowing. I am really happy with the way this portion turned out. Credit goes to my daughter for suggesting the idea. She is brilliant. 

365: Day 29 Stitchin up a Pirate

Post for Saturday, February 12, 2011

Green border added at beginning.
Parrot Pirate is really starting to come together nicely. Today I spent a couple of hours doing machine embroidery and adding the green marbled border. Normally the border is added after all the other work is done, but since I might "violate" the border by having the end of the skull cap stitched partially over the green border it's best to ad it now.

Button hole stitch on the spine bones and jaw.
As I work on the piece decisions are made about what will be done by hand and what parts will be embellished with the sewing machine. Last time I did machine embroidery it was on the Vibrant Dead Dog Pillow. I used a zig-zag stitch set to a narrow width. This time I tried the button hole stitch since the Parrot has more detailed and thinner areas to sew. The button hole stitch produced a satin stitch (stitches much closer together) and I varied the width depending on the area that was being embellished. I also used a variety of thread colors.

Pirate's treasure outlined in metallic thread
The Pirate's claw is holding a pearl or orb. I haven't decided which just yet.

Around the edge of the pearl I used a clear rainbow metallic thread (Sulky brand) which adds some nice sparkle. I might use embroidery floss for the rest of the pearl or fill in with more of the metallic threads. Maybe I can achieve a 3D look on the pearl.

Black metallic thread outlining the fabric pattern that is underneath the cheesecloth might be really interesting and add some mystery. It might even look like fireworks. Perhaps our pirate is in China stealing this pearl. Sounds like I need to go shopping for metallic thread and material for the backside of the quilt.

February 14, 2011

365: Day 28 Dead Parrot Pirate Treasure for your Pleasure

Post for Friday, February 11th

Now that the fabric is all washed I am all set to start cutting out pieces for the Dead Parrot Pirate. One of the things I most enjoy about the process are the last minute changes that result in a better design. Change is beautiful.

I do tend to delay these kinds of projects because of the set up time and then there is clean up. Here is a picture of what it looks like in process. My kitchen becomes craft central and all surfaces are covered in tools, materials, some snacks and sketches. This is just the table, you should see the counter. Yikes.

My goal for today is to cut out all the pieces and assemble them onto the background for the art quilt. First I trace parts of the drawing onto a sheet of Steam-A-Seam 2--its semi transparent. Marvelous stuff! Basically it's double sided tacky stuff that you use to arrange quilt pieces. JoAnn's sells it in bulk or in a 5 pack. Once the arrangement is to my liking, I steam it with the iron to make a permanent bond.

On the quilt you might notice some grayish fabric. That is cheese cloth that I dyed with black, brown and blue to get a well worn looking fragment of a garment. The camera flash makes it look far more transparent and lighter than it really is. The green fabric at the bottom is the first border. (that ugly blue stuff to the left and right is my ironing board).

I am pleased with the final arrangement of pieces and fabric choices. Everything is tacked down and ready for embellishing tomorrow.Arrrr he be a fine looking pirate.

365: Day 27 Haiku for Gilley and My Wallet

Post for Wednesday, February 9th

Today's creative endeavor comes from Day 39 out of the 365 Daily Creativity Journal. Yes, I know I am not at Day 39, but today needed an easy project given the day my cat and I had.
My beautiful Gilley

You see, I have this large cat, okay fine he is fat. Yes fat, the vet even said so. He is also very gorgeous. Alright, he is so fat that he can not clean his posterior when needed. Normally this is not an issue, but you see dear Gilley has long thick fur that traps everything. When on the rare occasion there is junk stuck to his bottom, I simply give him a butt bath and he dares not argue about it.

Well, he had diarrhea the past few days and was growling and hissing at everyone. Any attempt at a quick kitty butt bath would have resulted in my premature death or at least the loss of a limb. Gilley growled when I looked at him, walked by him or even mentioned his name. Life was not good for that sour puss.

Time for the vet. Oh what a treat. Gilley was held down and shaved like a lamb, BUT he was most uncooperative and completely freaked out as his eyes showed signs of near bursting. His butt was as red as Rudoph's nose. Not pretty, not pretty at all.
"Jeez, don't you have kitty pot for him or something?? Can I have some too?" 
So I left my little guy at the vets so that he could be knocked out for the rest of the clean up. While he was under sedation they also cleaned his teeth and removed one. Another tooth that was broken just fell out. The bill for the services had me stunned and distressed. However, Gilley was in a terrible state and could not have endured the fright from more shaving unless he was drugged. 

Here is the Haiku for Gilley:

Sickly growling cat
vet shaven, bill presented
sickly grumbling me.

Gilley is now doing just fine. Butt that view...ugh..

365: Day 26 Cheese Cloth Kitty

Post for Tuesday, February 8th, 2011

I have been wanting to paint on fabric and instead found information about printing on cheese cloth with an inkjet printer. So I abandoned painting and tried cheese cloth printing instead. Besides, I was lucky enough to have the materials needed to try a new process. I kinda followed the instructions on Linda Matthews blog. (By the way, this process is only for inkjet printers.)

First I needed an image. I was going to do my eye and make some sort of inspirational mini quilt with a quote on it, but could not find an image that was clear enough and didn't have bags. Then I saw a cute pic of Sparrow from when we first brought her home. 

Next, I cleaned up the pic in Fireworks (great image editing program). Deleted the background, made the image smaller and got it ready for printing.
After editing out background


Original Picture


All the supplies sans printer

I used Golden's semi-gloss medium to "paint" 2 layers on a small sheet of wax paper. Once dried--and that takes sometime, I laid down a single layer of cheese cloth. Then I "painted" 2 layers of Golden's digital ground on top. When dry everything looks white and crispy.

Cheese Cloth Sandwich All Ready To Go.
I then trimmed my cheese cloth sandwich and taped it to a sheet of copy paper. I don't recommend using regular tape like I did because I can be difficult to remove. Apparently the sandwich could be put through the printer as it, but I decided to play it safe. Although the sandwich is chunky in parts, it moved through the printer with no issues or jamming.
 
Here is the final cheese cloth print of Sparrow before removing it from the matte medium and wax paper.
The result was kind of cool, but much to light. Next time I will play with the settings in the image program and over saturate the picture for better definition and color. You can also see where the printer left some black smuggies, but it's not too pronounced. 
 
Here is what the matte medium layer looks like and the cheese cloth side by side. The Matte medium layer can be used again for another picture.
I used an HP officejet printer with regular inks. Apparently the Vivera inks are better since the final image would be waterproof and fade resistant. Linda Matthews blog also gives some good information about the types of inks to use.

365: Day 25 No Knead, I'll Make the Bread

Monday, February 7th, 2011
At first I felt guilty making bread as my craft for the day and even made a couple of other things. How silly. The No Knead Bread is truly amazing and definitely a crafty experience. Mom thank you soooo much for passing on your cast iron enameled pot to me. I love that pot!!

Google Reader had a post from a NY Time Article about No Knead Bread that was just as good as crusty bakery bread. Having spent way too much money on bread at "Whole Pay Check" for smallish loaves, I thought making my own might be a great idea. You save so much money that you can splurge on organic flours and still have dough left in your wallet and in the pantry.

If you read the article, there is a great write up on the process, but no recipe. I read it again and found a link to the original recipe. If you really want to go to the source you can visit Jim Lahey, Sullivan St. Bakery.

You can't really screw this up. It's even lazy proof. No really. What's really fun are the "improvements" to the original recipe that just encourage laziness for the sake of a better bread. Gotta love that. Google and you will see what I mean.

Slop the 4 ingredients together in a bowl--don't worry too much about exact measurement of ingredients. Cover it with plastic wrap and forget it for 12-18 hours. Next you kind throw some flour on the dough and maybe fold it over on itself twice. Throwing a little flour under the dough to prevent sticking to the bowl makes it easier to plop it into the cast iron pot later. Some folks use spray to prevent sticking, but why bother if you have to play with the flour anyway? Cover the dough back up and let it rise for two hours. Leaving the dough in the bowl rather than moving it to two floured towels is a recent "innovation" -- no towels to clean. See lazy. Love it.


A beautiful view fresh from the oven!
When you feel like it, heat up the cast iron pot in the oven for about 30 minutes.I put mine in there with the lid on it. When that is ready pop off the lid (remember the oven mitts!) and flop your dough in the pot. Put the lid back on for 30 minutes. Take lid off and bake 15-30 more till it's looking pretty. 

Eat once it has cooled--HA right. Resisting is futile. I lasted 10 minutes and had to dig in...ooohhh. Mmmmmm breaaaaad (say it like Homer or a zombie for best effect).

Crusty, crusty, crusty!!  Oh the crust. My daughter and I immediately ate half the loaf. The texture is truly wonderful. Crusty on the outside and soft and tasty on the inside. In fact my daughter's first comment was "Oh Mom that's some tasty bread!"

The creative part? Add-ins and variations on the process and ingredients. I made more this weekend and substituted half the white flour with whole wheat pastry flour. Oh yeah. This week I am going to try adding in some tomato paste to the water before mixing in the flour. Drooling, again.
Mine didn't seem to rise enough, so I did put it into the oven with a pan of boiling water underneath it to encourage a good rise. Next time I will put the bowl on top of the refrigerator where it is warmer. Hows that for lazy innovation?

If by chance there are leftovers, simple place the bread cut side down on the cutting board and just leave it there. No really, it's the best way to keep the bread crusty and the best part---the bread didn't dry out over night or get hard and bonus--saves the environment from plastic wrap. I know, I can barely believe laziness worked, but it did. Give it a go!

February 6, 2011

365: Day 24 Redraw

Time to redraw the Dead Parrot Pirate. There were portions of the parrot that needed refining in addition to deciding it's final size. Including a 2" border the finished size will be approximately 13"x19". 

Part of the process is to trace the image onto tracing paper. Knowing that I wanted to shorten an arm bone and move his hand father from the beak, I traced those parts of the parrot as well as the head onto 3 different pieces of tracing paper. When it came to tracing my subject, I just moved the different pieces of paper around until his parts looked right. This was much easier and far less time consuming than trying to redraw the whole image at once.

Having purchased the main fabric for my Dead Parrot Pirate art quilt, I needed to pick out coordinating fabric from my stash. It's a somewhat muted collection of fabric. I will be making blackened cheese cloth to use for his tattered rags. I think the purple fabric will be combined with the brown to make 2" wide stripes for the backing of the quilt. Not sure what fabrics will be for the borders. Might need to do a little more shopping.

Sparrow was a great help. She sat in the bags of fabric to make sure none had walked away. Good kitty. Do you think I can get her to wash up the fabric for me?


Posted by Picasa